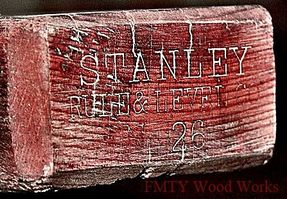
Last year I got some old, rusty hand planes at a swap meet we went to. I knew I wanted a longer hand plane for slab surfacing, which is why I got this one specifically. I wanted to use the parts off of it to put on a new longer body and make some better handles for it as well.

The first thing I did was take it apart and spray some paint remover on the parts that had paint and then wipe off as much as I could. It then ended up sitting in my shop for a little while after that until I could get back to it about a month or two later. When I did get back to working on it I started making the body. I used two pieces of mahogany with a thin piece of walnut in the center to tie in the walnut handles.
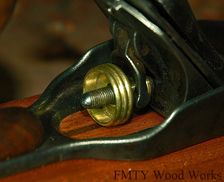
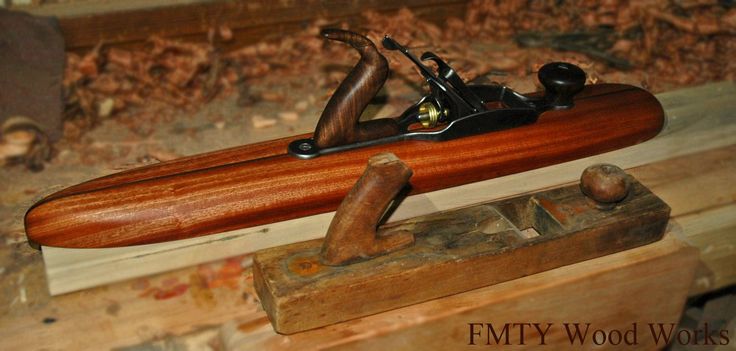
After the glue dried I started shaping the body, It took quite some time, but I was very happy with the outcome. I wanted kind of a surf board look to it and I wanted it long enough to be a good plane for surfacing slabs. I wanted to clean up the metal parts of the plane so I used the wire brush I have on my bench grinder. It really shined up the brass parts of the plane so I decided to go even further and use some polishing compound to bring it to a mirror finish. I ended up going back a second time to clean things up even more on the steel parts which made it look even better.
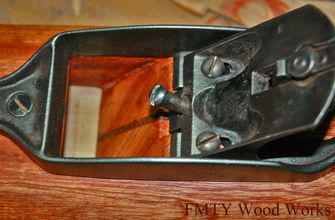
I then started on carving the mouth of the plane, this is where the blade will come out. To be able to mark everything to start carving, I adjusted the metal body exactly where I wanted it, drilled pilot holes for the screws, screwed it in place and then marked the area to carve. The carving took quite some time as well, but it was worth the effort.
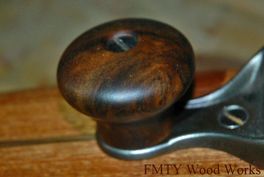
After finishing the carving I put everything together using the old handles to see if it worked. After some adjusting I got the planer working nicely. I then started on the handles. I started turning the front handle/knob since I new that would be the easiest to do first. I started with one half of the block I used, but took a little too much off, so I used the other half instead and that one "turned" out great.
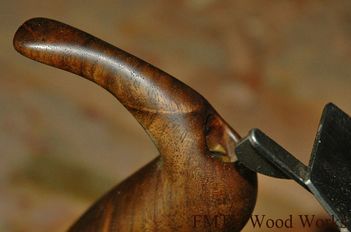
After that I started on the back handle/tote. I cut out a shape I liked on my band saw and did some of the heavy carving with my belt sander, but I did most of it with some rasps. After the heavy carving was done I went over it with some sand paper starting from about 120 grit to 1500 grit to really give it a shine. I did the same sanding process with the knob as well. The handle needed a hole through it for the bolt to attach to the brass nut, to keep the handle secure. I screwed the bolt in and used a hand drill and tried to eyeball it to see if my angle was right while I drilled through the center. I used a lager drill bit first for the nut to go into and then the rest of the way with a smaller bit for the bolt. It wasn't perfect but I got it to work after some trial and error. I then cleaned up the edges around the hole and finished everything off with an extra coat of mineral oil.
I was really happy with the outcome of this project and hope to be doing more of my own hand tools in the future. I hope this plane will benefit me with surfacing slabs and many other things as well.
 RSS Feed
